Your shopping cart is empty.

D.I.Y. Metallic Nail Art

flash tattoos nail art diy

Are you ready for sweater weather? But don't put the metallic tattoos away yet! Check out the amazing easy-to-do examples on how to dress up our nails with flashy nail art.

Here is what you'll need:

Cup of water

Sponge or a paint brush

Scissors

Nail polish remover

Clear nail polish

Metallic Tattoos

 Instructions:

  1. Paint your nails as usual and let dry fully
  2. Cut the tattoos to your nail size
  3. Remove the plastic from the top of the tattoo
  4. Place the tattoo face down to the nail
  5. Apply with a sponge as you would if applying to your skin or paint over the paper with water using a brush until the paper comes off
  6. Take the paper off or slide it to the side very carefully
  7. Use your paint brush to smooth down the edges
  8. Clean the excess of tattoo on skin using a paint brush and some nail polish remover
  9. Let the tattoo dry for about 30 seconds
  10. Top it off with a thin layer of clear nail polish

That's it! Very simple! In case you'd like to see the video tutorial, check out the example below:


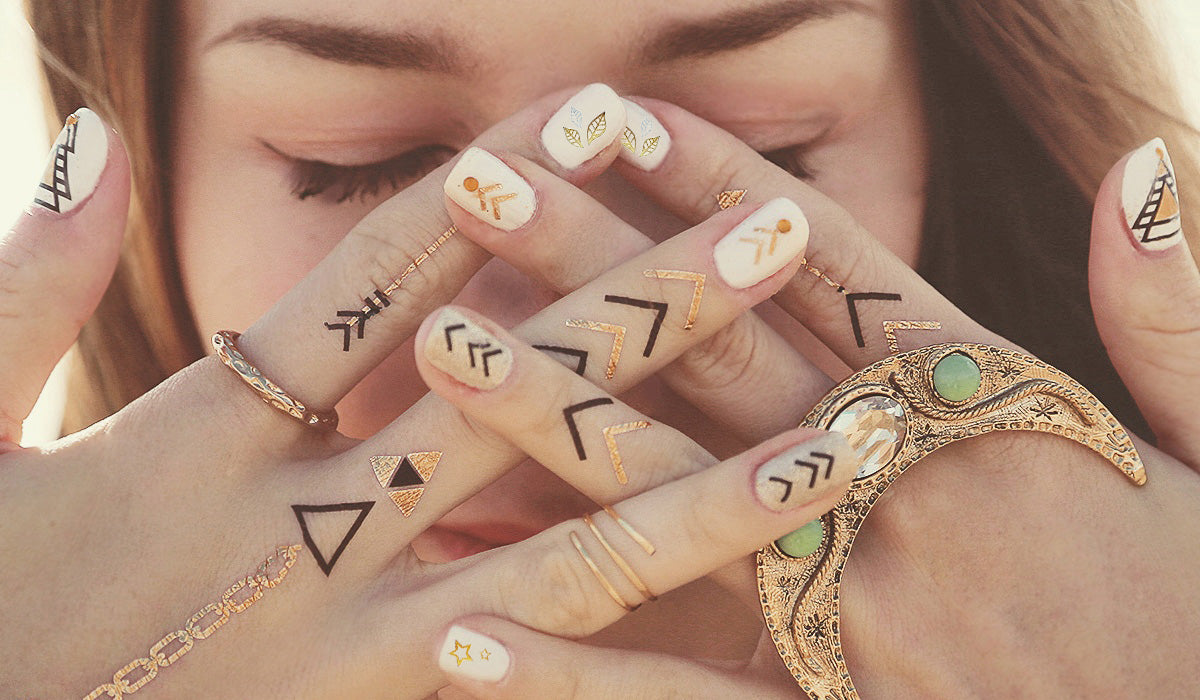
Here are some examples of designs that are great for the nail art!

 
gold flash tattoos nail art diy


  • October 16, 2015
  • Gold Ink Tattoo
  • DIY